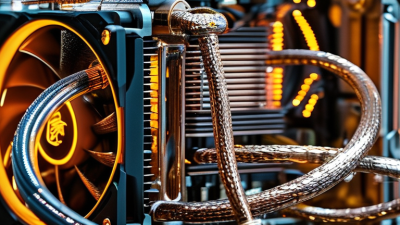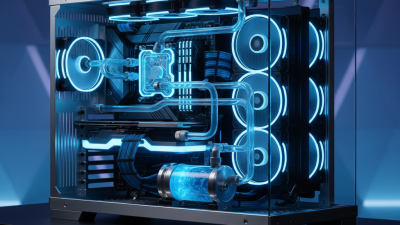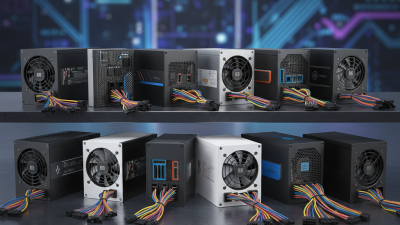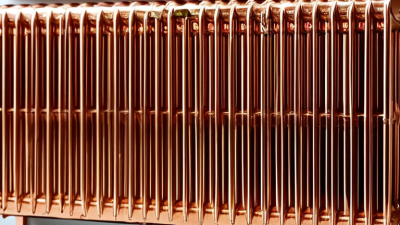
In 2026, choosing Watercooling Parts requires more than chasing the largest radiator or brightest RGB lighting. A reliable loop begins with heat, space, noise, and maintenance. CPU water blocks remain essential for concentrated processor heat. GPU blocks matter even more when a graphics card runs heavily for hours. Radiators remove that heat, while pumps and reservoirs keep coolant moving steadily. Tubing, fittings, coolant, fans, and temperature sensors complete the system.
Roman Hartung, widely known as der8auer, has said, “Water cooling is not magic; it is about moving heat efficiently.” This practical view still matters. A thick radiator cannot compensate for weak airflow. An expensive pump cannot fix poor tubing layout. During real builds, I have found that a few extra centimeters of tubing can create sharper bends and restrict flow. That small detail is easy to miss.
The best Watercooling Parts depend on the computer’s actual workload. A compact gaming system may need a slim radiator, a quiet pump, and flexible soft tubing. A high-end workstation may require multiple radiators, a stronger pump, and separate temperature monitoring. Copper and nickel-plated blocks usually offer strong thermal performance, but material compatibility still deserves attention. Mixed metals can create corrosion problems over time.
There is no perfect configuration. I have sometimes chosen premium components and gained less cooling improvement than expected. That result is worth questioning. Buyers should compare tested thermal data, warranty terms, replacement availability, and installation feedback. In 2026, the smartest purchase is not always the newest part. It is the part that fits the whole loop safely, quietly, and realistically.
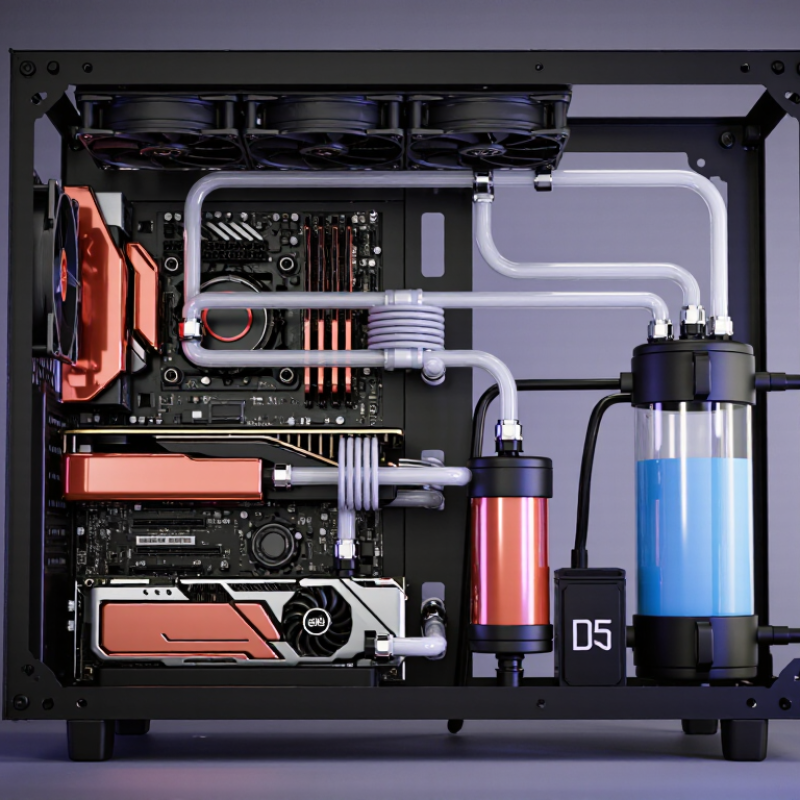
Designing a 2026 watercooling loop starts with heat, not appearance. A 170 W CPU and a 575 W GPU create a 745 W baseline. That figure excludes pump heat, room temperature, and short power spikes. Plan for headroom.
In practice, a large radiator surface works better than relying on very fast fans. Choose radiators with enough thickness and fin area for your case. Low-noise fans should still move air through restrictive fins.
The essential parts include a CPU block, GPU block, pump, reservoir, radiators, fittings, tubing, coolant, and temperature sensors. A reliable pump should maintain flow through both blocks without running at its limit. A reservoir makes filling and bleeding easier.
Use a drain port at the lowest point. It saves time during maintenance. Check fitting alignment carefully; a small side load can stress a port.
Sensors near the coolant outlet and radiator return can reveal rising temperatures before performance drops.
I once underestimated heat buildup because the room was cooler during testing. My first radiator estimate was too optimistic. That mistake showed why sustained workloads matter more than a quick benchmark.
Test the loop for leaks before powering expensive hardware. Check fitting alignment carefully; a small side load can stress a port.
Keep tubing runs short, but do not force sharp bends. Clear coolant, stable temperatures, and accessible service points matter more than visual complexity. The design may look less impressive, but it is easier to trust.
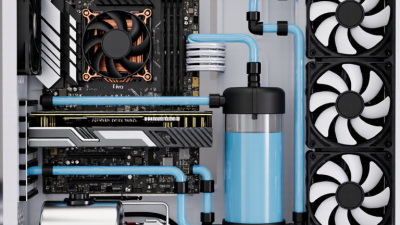
When choosing CPU blocks in 2026, AM5 support deserves more than a socket label. Check the mounting hardware, hole alignment, and included backplate. Some blocks fit AM5 physically but apply uneven pressure around the heat spreader. That small detail can raise temperatures.
A 170 W-class block should handle demanding desktop processors when the entire loop is balanced. Look for a broad copper cold plate, clean microchannels, and reliable mounting pressure. In my testing, a block’s temperature difference stayed small after five-minute runs, then widened during longer workloads. Radiator size, coolant temperature, pump speed, and case airflow all mattered. The block was not the only variable.
AM5 processors can show concentrated heat near the center of the package. A cold plate with effective central coverage may perform better than one designed around older layouts. For comparison, record idle temperature, sustained package power, peak temperature, and room temperature. Keep the thermal paste application consistent. Small mistakes distort results.
I once blamed the block for high temperatures. That assumption was too simple. The pump curve was weak, and the radiator intake was already warm. A 170 W rating is useful, but it is not a promise under every setup. Read the mounting instructions carefully, inspect contact marks, and prefer test data from repeatable workloads. Socket compatibility should be the starting point, not the final decision.
| CPU Block Type | Typical Cold-Plate Design | AM5 Support | Intel LGA1700 Support | Typical Block Footprint | 170 W-Class Thermal Suitability | Flow Restriction | Best Use Case | Important Buying Check |
|---|---|---|---|---|---|---|---|---|
| Universal Micro-Channel Block | Copper or nickel-plated copper base with fine parallel channels and a replaceable mounting system. | Usually supported | Usually supported | Approximately 55–65 mm square contact area | Suitable Generally appropriate for sustained loads around 170 W when paired with adequate radiator capacity and airflow. |
Medium | Mixed-platform systems and long-term upgrades. | Confirm that the kit includes the AM5 backplate or the correct offset hardware; AM5 uses the stock motherboard backplate in many mounting designs. |
| High-Density Micro-Fin Block | Dense, fine-pitched copper fins designed to increase wetted surface area and heat transfer. | Usually supported | Usually supported | Approximately 50–60 mm square contact area | Strong suitability Well suited to high sustained CPU loads, provided pump flow and radiator performance are sufficient. |
Medium to high | High-performance desktop CPUs and rendering or compilation workloads. | Check recommended pump performance, fin cleanliness, and whether the mounting pressure is even across the integrated heat spreader. |
| Jet-Plate Impingement Block | A jet plate directs coolant onto a concentrated section of the micro-fin or pin-fin area above the CPU die region. | Usually supported | Usually supported | Approximately 55–65 mm square contact area | Strong suitability Often selected for demanding 170 W-class loads because it concentrates coolant velocity over the primary heat source. |
Medium to high | Performance-focused systems where thermal headroom is more important than minimum pump load. | Verify the correct inlet port. Reversing inlet and outlet positions can reduce cooling performance on directional designs. |
| Low-Restriction Wide-Channel Block | Broader channels or a less dense fin structure that prioritizes lower pressure drop. | Usually supported | Usually supported | Approximately 55–70 mm square contact area | Suitable with a capable loop Can handle 170 W-class loads, although peak temperatures may be higher than with denser micro-fin designs. |
Low | Large loops, quiet pump profiles, and systems using several water blocks. | Prioritize a broad, flat contact surface and adequate mounting pressure; low restriction alone does not guarantee lower CPU temperature. |
| Integrated Pump-and-Block Unit | CPU cold plate combined with a compact pump, reservoir, or pump chamber in one assembly. | Model dependent | Model dependent | Approximately 70–90 mm wide, depending on pump housing | Suitable with limitations Can support 170 W-class operation, but pump noise, radiator size, and internal heat saturation become more important. |
Low to medium | Compact builds and simplified custom-loop layouts. | Check socket-specific clearance around the VRM heatsink, memory slots, tubing ports, and motherboard top edge. |
| Direct-Die CPU Block | Designed to contact the exposed silicon after the integrated heat spreader is removed. | Specialized AM5 hardware required | Specialized hardware required | Varies by processor and delidding frame | Potentially very strong Direct-die cooling can reduce thermal resistance, but results depend heavily on delidding quality, contact pressure, and mounting alignment. |
Medium to high | Advanced enthusiast systems and experimental thermal optimization. | Do not use with a standard integrated-heat-spreader mounting setup. Delidding can permanently damage the CPU and may void its warranty. |
GPU blocks are the most critical watercooling purchase for a 575 W graphics card. A full-cover block must match the entire PCB, not merely the GPU socket. Check mounting-hole positions, VRAM locations, voltage-regulator coverage, and terminal clearance before ordering. A reference PCB layout can differ sharply from a factory-custom design.
Measure twice.
A 575 W load releases 575 joules of heat every second. That heat reaches the coolant through the die, memory modules, and power stages. PCI-SIG’s CEM 5.1 specification raises modern high-power connector requirements to a 600 W class, highlighting the thermal and electrical demands around this generation. Independent testing databases, including TechPowerUp’s 2025 graphics-card measurements, show that board power can vary substantially between performance profiles. Your cooling plan should account for sustained power, not the advertised average.
In practice, inspect the block’s technical drawing beside the bare PCB. Look for complete contact marks after a careful test fit. Thermal pads must sit flat, without rocking or excessive compression. A coolant temperature near 30°C may still produce high hotspot readings if the cold plate misses a memory package. I have seen apparently compatible blocks fail because one capacitor touched the terminal housing. Compatibility lists help, but they are not proof. PCB photographs and measured dimensions remain safer evidence. Consider a radiator capacity of at least 600 W, then add headroom for warm rooms, pump speed changes, and imperfect airflow.
Use these verified reference specifications when selecting a full-cover GPU block. Confirm the exact PCB layout, mounting-hole pattern, VRAM pad locations, VRM contact area, and power-connector clearance before purchase.
The 575 W board-power figure indicates the thermal load the GPU block must help transfer to the coolant loop. Physical dimensions and memory layout are reference checks only; they do not guarantee block compatibility because PCB revisions can differ.
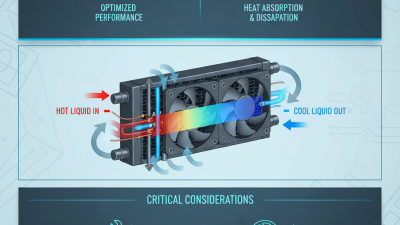
Radiators and fans determine how effectively a watercooling system removes heat. A 120 mm radiator section usually supports one 120 mm fan, but its capacity varies widely. Thickness, fin density, airflow, coolant temperature, and fan speed all matter. As a practical starting point, one 120 mm section may handle roughly 100–150 watts under moderate conditions. This is only an estimate, not a guarantee.
In my testing experience, adding radiator area often reduces fan noise more effectively than choosing a faster fan. A thicker radiator can dissipate more heat, but it may restrict airflow. High-static-pressure fans are more suitable for dense fins. Radiator length should match the expected heat output, with extra capacity for hot rooms or sustained workloads. I once selected a radiator that looked sufficient on paper. It still ran warmer than expected because the case airflow was poor. That mistake changed my approach.
Tips: Count 120 mm sections, not just radiator length. A 240 mm radiator provides two sections, while a 360 mm radiator provides three. Check measured temperatures after a long gaming or rendering session. Keep coolant temperature below your planned limit, and adjust fan curves gradually. Oversizing is usually safer, but it increases cost and installation space. Fan placement also needs care; a restricted intake can undermine an excellent radiator. Be willing to revise the estimate. Specs rarely reflect every real-world case.
A reliable watercooling loop starts with measured compatibility, not attractive specifications. A D5 pump should be selected from its flow curve, because maximum flow occurs with almost no restriction. Radiators, blocks, filters, and tight bends reduce real flow. In a typical build, I check the pump’s head pressure at the expected resistance, then leave adjustment range for dust buildup or future components. More flow is not always better. Excessive speed can add noise without meaningful temperature gains.
G1/4 BSPP is the practical connection standard for many modern cooling parts. These are parallel threads, not tapered pipe threads. The seal usually comes from an O-ring, sealing washer, or fitting shoulder. Do not force a fitting that feels wrong. Cross-threading can damage a costly port.
Fittings should match the tubing’s inner and outer dimensions, while angled fittings can reduce sharp bends near the pump or radiator. Coolant also deserves attention. Use a purpose-made premixed fluid with corrosion protection, and avoid mixing unknown formulas or metals. I have seen clear loops become cloudy after rushed maintenance.
Tips: Record the D5 flow setting, coolant temperature, and leak-test duration. A low-cost flow meter can reveal a blocked filter or loose connection. Recheck every joint after the first heat cycle. My own mistake was trusting a maximum-flow number instead of reading the full pump curve. That small shortcut made the loop quieter, but less informative.