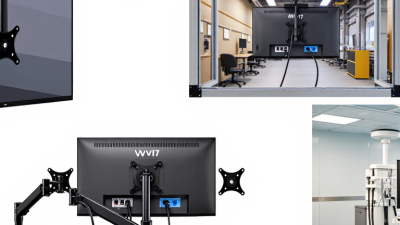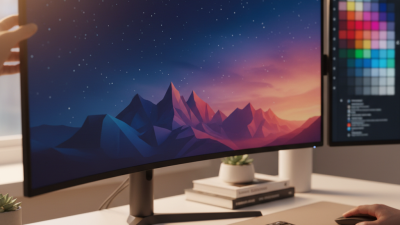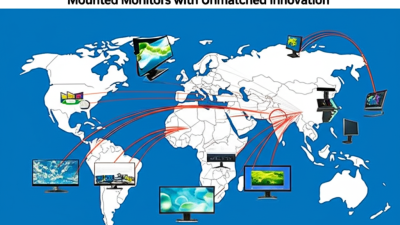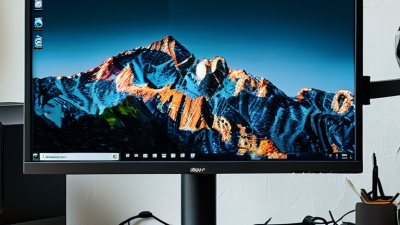
Choosing the best Mounted Monitor for global buyers requires more than comparing screen size and price. The mounting system affects safety, comfort, service life, and installation cost. A bright display may fail in a poorly supported workspace. A strong bracket may still perform badly when cable routing is ignored.
Bill Lemp, Executive Director of the Video Electronics Standards Association, has emphasized a practical principle: “Standards give manufacturers and buyers a common language.” That idea matters when buyers compare VESA patterns, load limits, screw sizes, and regional installation requirements. A reliable Mounted Monitor should clearly state its supported interface, weight capacity, viewing range, and power specifications.
Look closely at the working environment. A control room may need continuous operation, low-glare glass, and easy height adjustment. A warehouse may require sealed surfaces, impact resistance, and visible controls under uneven lighting. A clinic may prioritize simple cleaning and stable cable placement. Small details become expensive problems later.
Check the mount, too. Does it hold the monitor without drifting? Can one technician install it safely? Are replacement parts available in the buyer’s region? These questions reveal product quality more clearly than promotional language.
There is no universal winner.
My own caution is simple: published specifications do not always reflect daily use. Shipping damage, unusual wall materials, and adapter shortages can change the buying decision. Global purchasers should request installation drawings, test samples, warranty terms, and local support before committing to a large order. That process may feel slower, but it reduces avoidable surprises.
What Is a Mounted Monitor and Who Needs One?
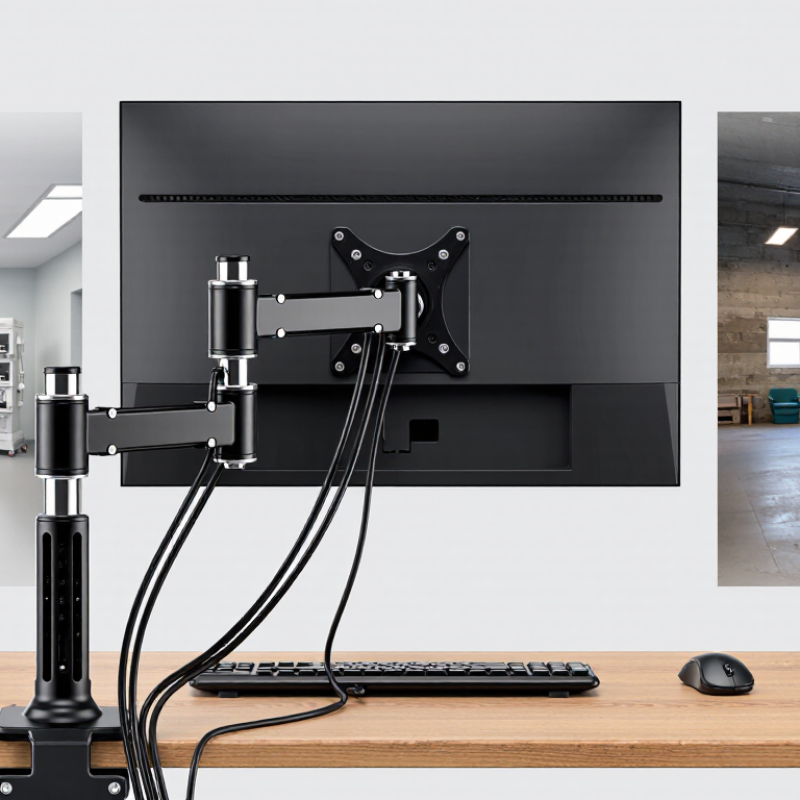
A mounted monitor is a display fixed to a wall, desk arm, pole, or specialized bracket. Unlike a loose desktop screen, it stays in a planned viewing position. The mount can free desk space, reduce cable tangles, and improve neck alignment. However, comfort depends on height, viewing distance, and tilt. A strong bracket cannot correct poor placement. That detail is often missed.
Office teams often need mounted monitors when desks are narrow or workstations must remain organized. Reception desks, control rooms, clinics, classrooms, and retail counters may also benefit. Home users with small desks can gain valuable space for notebooks, tools, or paperwork. A mounted display may suit photographers, designers, and analysts who need stable screen positioning. It is less suitable for renters who cannot drill or users who frequently change rooms. Portable stands may be wiser there.
Global buyers should evaluate load capacity, screen size, VESA compatibility, adjustment range, and installation method. Check whether the hardware fits the wall material. Confirm power requirements and local electrical compatibility before ordering. Cable length is a small detail with large consequences. I once underestimated cable reach around a corner; the screen worked, but the setup looked awkward. That experience taught me to measure twice, including cable paths and eye level. Low cost does not always mean good value. A reliable mount should feel stable, move smoothly, and include clear instructions. Measure twice.
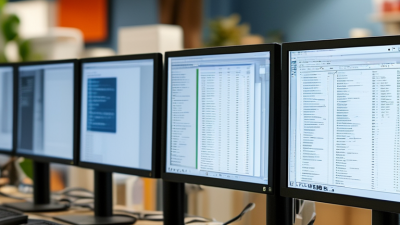
Global workspaces need different mounted monitor types, not one universal solution. Microsoft’s 2023 Work Trend Index found that 73% of employees wanted flexible remote options, while 67% still wanted more in-person time. That split makes adaptable monitor mounting valuable.
A desk-clamp arm suits hybrid workers with changing setups. It releases desk space and supports quick height adjustments. A wall-mounted monitor works better in fixed offices, reception areas, and narrow rooms. For analysts, engineers, and content teams, dual or triple arms reduce window switching. They also need stronger desks and careful cable routing. Ceiling mounts can serve control rooms or shared production areas, but installation becomes less forgiving. OSHA recommends placing the screen about 20–40 inches from the user, with the top at or below eye level. In practice, glare and viewing habits often defeat perfect measurements. A good mount cannot repair poor lighting.
Tips: Check VESA compatibility, arm weight limits, desk thickness, and local wall structure. Leave space for keyboard movement. Test one monitor before buying several. The cheapest arm may wobble during typing. That small shake becomes surprisingly irritating. Use gas-spring arms for frequent repositioning, and fixed brackets for stable, single-purpose stations. Gensler’s 2024 Global Workplace Survey also emphasizes user choice as a major workplace preference, supporting adjustable mounting in mixed-use offices. Still, not every worker wants movement. Some prefer one dependable position.
VESA mounting patterns are internationally used dimensions for attaching monitors to arms, wall mounts, desk stands, and multi-screen systems. Smaller displays commonly use 75 × 75 mm or 100 × 100 mm patterns, while larger professional and commercial displays often use 200 × 200 mm or larger patterns. Buyers should confirm the monitor’s VESA pattern, weight, screen size, and the mount’s load rating before installation.
Size should match the viewer’s distance, desk depth, and daily workload. A 24-inch screen fits compact desks, while 27 inches offers more comfortable space for documents and spreadsheets. Larger displays can improve multitasking, but they may require stronger arms and wider viewing angles. Bigger is not automatically better.
Resolution must support the screen size and content. Full HD can remain practical on smaller monitors, while 27-inch models often benefit from higher resolution. A 32-inch display may need 4K for sharper text at close range. Check scaling settings before buying. Tiny interface elements can reduce productivity.
Mounting systems deserve careful inspection.
Confirm the VESA pattern, arm load rating, tilt range, and cable clearance. Wall installation also depends on the surface and suitable anchors.
I once focused on resolution and overlooked the monitor’s rear depth; the arm could not sit close enough to the wall. That mistake changed my buying checklist.
Measure twice. Leave room for ventilation and future adjustments.
Global buyers should also verify input voltage, plug compatibility, warranty support, and local installation conditions before ordering. Specifications can look complete while hiding practical limits.
What Is the Best Mounted Monitor for Global Buyers?
A reliable mounted monitor begins with physical compatibility, not appearance. Check the VESA pattern, screen weight, and mounting hardware before purchasing. A mount rated for 9 kilograms should not carry a 9-kilogram display. Leave a safety margin. Wall material also matters. Brick, concrete, and hollow drywall require different anchors. Cable length deserves attention too. A perfect fit on paper can fail when the power cable barely reaches the outlet.
Comfort depends on daily adjustment. The screen should sit near eye level, with a viewing distance that keeps text sharp without leaning forward. Tilt and swivel controls help reduce neck strain in changing workspaces. Matte surfaces can reduce reflections near bright windows, although they may slightly soften image contrast. I have seen users focus on resolution and ignore posture. That mistake becomes expensive after several long workdays.
Tips: Confirm local plug requirements and included hardware before ordering internationally. Choose a mount with smooth movement, firm locking points, and clear adjustment instructions. Inspect the joints after installation, especially if the monitor feels loose or slowly drops. Steel construction usually supports long-term stability, but corrosion resistance matters in humid rooms. Manufacturer testing, load documentation, replacement parts, and responsive service indicate stronger reliability. Still, specifications are not guarantees. Recheck every connection after a week.
| Evaluation Dimension | Recommended Specification | Compatibility Impact | Comfort Impact | Long-Term Reliability Considerations |
|---|---|---|---|---|
| Mounting Standard | VESA 75 × 75 mm or 100 × 100 mm | Fits most standard monitor arms, wall mounts, and desk mounts. | Allows height, tilt, swivel, and rotation adjustments when used with a suitable mount. | A standard hole pattern makes replacement and future upgrades easier. |
| Screen Size | 23.8–27 inches for general office use; 31.5 inches or larger for multitasking | Larger screens require greater arm load capacity and more desk or wall clearance. | A 24–27 inch screen is usually comfortable at approximately 50–75 cm viewing distance. | Larger panels place higher mechanical loads on hinges and mounting hardware. |
| Weight Capacity | Mount rating should exceed the monitor weight by at least 20%; common single-arm ranges are 2–9 kg | The monitor weight must remain within the mount’s rated range, including the stand adapter. | Correct load balance prevents unwanted screen movement and drifting. | Operating below the maximum rating reduces stress on springs, joints, and clamps. |
| Resolution and Aspect Ratio | Full HD for 23–24 inch models; QHD for 27 inch models; 4K for detailed professional work | The computer, cable, and monitor input must support the selected resolution and refresh rate. | Higher pixel density improves text clarity and reduces the need for excessive zooming. | Digital inputs such as DisplayPort, HDMI, or USB-C are easier to maintain than proprietary connections. |
| Panel Type | IPS for wide viewing angles and general productivity; VA for stronger contrast; OLED for premium image quality | Panel choice does not normally affect mounting, but thickness and rear housing shape can affect adapter clearance. | IPS panels typically provide more consistent color when viewed from different angles. | Long-duration office use benefits from stable thermal performance and a reliable backlight system. |
| Height Adjustment | At least 100–150 mm of vertical adjustment for desk-mounted setups | The mounting arm must provide sufficient travel for the desk height and user position. | The top of the screen can be positioned near eye level, helping reduce neck flexion. | A gas spring or counterbalance mechanism should remain stable throughout its rated load range. |
| Tilt, Swivel, and Rotation | Tilt approximately ±15°; swivel at least ±45°; 90° portrait rotation where required | Movement range must match the desk layout, wall position, and cable bend radius. | Flexible positioning helps control glare and supports different working postures. | Metal joints, replaceable fasteners, and accessible tension adjustment improve serviceability. |
| Desk or Wall Installation | Desk clamp for flexible installation; grommet mount for permanent positioning; wall mount for space saving | Check desk thickness, grommet diameter, wall material, and allowable load before installation. | A correctly installed mount frees desk space and improves screen positioning. | A steel clamp, protective pad, and secure locking mechanism reduce movement and surface damage. |
| Cable Management | Integrated channels or clips with at least 30–40 mm of usable clearance | Cable paths must accommodate power, video, and USB cables without sharp bends. | Organized cables reduce desk clutter and prevent accidental pulling during adjustment. | Strain relief helps protect connectors and reduces repeated cable fatigue. |
| Connection Options | At least one HDMI input; DisplayPort for desktop systems; USB-C with power delivery for compatible laptops | Confirm connector type, video bandwidth, and USB-C power-delivery requirements. | A single USB-C cable can reduce setup complexity for supported laptops. | Multiple standard inputs improve replacement flexibility and reduce dependence on adapters. |
| Power Compatibility | Internal or external power supply supporting the destination market’s voltage and plug requirements | Verify input voltage, frequency, plug type, and required certification before international shipment. | Stable power delivery helps prevent flicker, shutdowns, and intermittent operation. | Replaceable power cables and readily available adapters simplify maintenance across regions. |
| Brightness and Eye-Comfort Features | Approximately 250–350 cd/m² brightness, flicker-controlled backlight, and low-blue-light mode | These features generally do not affect physical compatibility. | Adjustable brightness and reduced flicker can make long viewing sessions more comfortable. | Consistent brightness and thermal control support stable performance over extended use. |
| Installation and Serviceability | Tool-assisted or tool-free VESA attachment, clear instructions, and accessible adjustment screws | Clear mounting dimensions and included hardware reduce installation errors in different markets. | Simple installation makes it easier to set the screen at the correct ergonomic height. | Standard screws, replaceable hardware, and available spare parts extend usable service life. |
Practical selection rule: confirm the VESA pattern, monitor weight, mount load rating, desk or wall conditions, cable requirements, and destination-market power specifications before purchase.
International buyers should begin with the installation environment, not the screen size. Measure the wall, desk depth, viewing distance, and available cable routes. A 27-inch monitor may fit comfortably in one office but feel oversized in a compact workstation. Check the mounting pattern, usually listed as a VESA measurement, and confirm that the bracket supports the monitor’s weight. Do not rely only on product photos. Review the technical manual and installation drawings.
Power compatibility also matters. Confirm the monitor’s input range, plug type, and included power adapter before ordering. Buyers should check local safety certifications, warranty coverage, return procedures, and replacement-part availability. Shipping damage is possible, especially with large displays, so inspect the carton and screen immediately. A reliable supplier should provide clear specifications and responsive technical support. Real installation feedback can reveal loose hinges, difficult cable access, or poor height adjustment.
Tips: Compare total ownership cost, not only the purchase price. Include mounting hardware, import charges, installation labor, and possible adapter costs. Choose adjustable height and tilt for long work sessions. Test the monitor at the intended viewing distance if possible. No checklist removes every surprise. Even experienced buyers can miss a small detail, such as a short cable or an unsuitable wall surface. That is why a written compatibility check is worth the extra few minutes.